Tuesday, July 19, 2011

Cooling off with Neck Coolers


These little things really do help cool you off on hot days.  I made them on a couple of 100+ degree days to see how well they may work.  I was pleasantly surprised by how fast it helped cool you off.  It does take a bit of time to activate the beads.  Okay, so let's get you cool.


What you need:
- Aqua-Gems (liquid marbles) or Water Beads for Plants
- fabric (about 4 inches wide and from selvage to selvage).


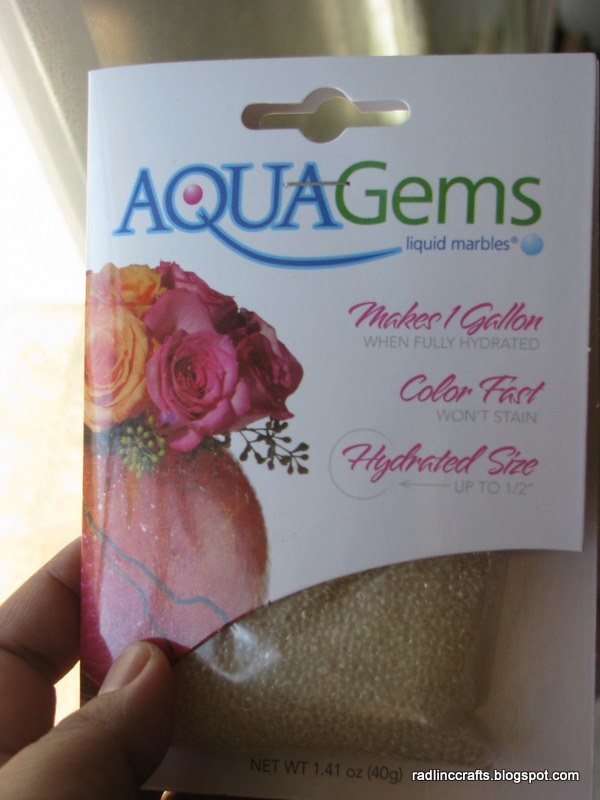
First, a bit about those aqua beads.  These little beads, that are probably about 1/16th of an inch in diameter, grows to be 1/2" when activated with water.  It takes a couple of hours for the bead to take in the water to grow to it's largest size.  If I remember correctly, it took a couple of days for the bead to go from 1/2 " to it's original tiny size.  This little package sold for about $4 at Joann's and a gallon of full size beads.  Here are some pictures of the beads from when I first put them in the water, somewhere halfway through, and full size.


Here's how to make the neck cooler:

1.  Start by adding some aqua gems into a bowl of water.  Over-estimate a bit because it does take some time to fully activate.

2. While the beads are activating, cut a piece of fabric from selvage to selvage in a 4 inch strip.

3.  Fold the fabric in half with right sides together, so you have a long thin 2 inch strip.

4.  With fabric folded, sew along the long side where the edges meet, about 1/4" from the edge. (Tip: do a reverse - forward sew on the ends to help secure the ends for the next step)

5. Turn the strip inside out (or right-side out).  This will take a bit of time.

6.  Fold and mark the strip in half and sew a line right through.  I suggest you fold that the first long sew line is in the middle of the strip, not on either edge.


7.  Dry the aqua gems so it doesn't wet the fabric.  Put about 20 -25 beads in the tube.  Sew another line to close those beads in.  Do this 2 more times on this side of the tube.  Do this 3 times on the other side of the tube.  You should have something like this now (red line is the middle).


8.  Now all you have to do is clean up the ends.  I cut the ends in a diagonal, folded it in, and sewn. If it's easier, you can make this a straight fold.  Or even easier yet, and especially if it's just for use around the house, just leave the ends undone.


Stay Cool! :)

Friday, July 15, 2011

Zoo Amigurumi Book Giveaway


Woohoo, I just got this giveaway book in the mail today.

The second giveaway of July is this Zoo Amigurmi Book called, "A Zoo For You: 11 Animals to Crochet" by Cindy Harris.  This fits quite nicely to what has captured my interest this year.  I've really gotten into making amigurumis recently, and want to share that interest with you by setting up this giveaway.


This book has 11 animals of easy difficulty.  It doesn't really have many pages and images of instructions, but what it has is pretty concise.  To be truthful, I haven't yet tried making one of these animals.  Maybe I'll make it a crochet-a-long one of these days.  From what I've seen tho, the instructions are easy to read and follow.  So far my favorites and the ones that I will probably try first are the giraffe, lion, and elephant followed by the tiger and hippo ( okay, I know I just named off about half the animals in the book... but, they're so cute).  Don't forget that these would make great Christmas presents... and it's about time to start thinking about that sorta stuff.


Okay, so same rules apply as before.

To enter, make a comment on this page.
The contest will run from now til August 15th 11:59pm.  
Also, if you've entered in the last giveaway (tea bag wallet + giftcard giveaway) as well as this giveaway, that gives you one chance to win the tea bag wallet + giftcard and two chances to win this book.

Okay, so good luck.  I hope to include the unicorn amigurumi soon.

:)

Friday, July 8, 2011

Plugged Watermelon


It definitely feels like summer out there.  We tried this a few weekends ago when it started getting warm outside. A plugged watermelon is basically a spiked watermelon.  Choose an alcohol, and marinate the watermelon with it.  I found this idea perusing thru my copy of "The Joys of Cooking."

Here's what you need:

- watermelon
- liquor (we used bacardi white rum)

It's pretty simple to do, and quite tasty, but it does take some patience.

Here's how to do it:

1.  Cut a small hole on the top of the watermelon.  You'll want your melon to stand on it's own, so how ever it's doing so when it's on the table, cut on the top of that. It's also easiest to cut a triangle, angling the inserted knife into the triangle, so you can take the "plug" off the melon.

2.  Take the plug off the melon, and put it aside.

3.  *Pour liquor into the hole made by the plug. Add enough liquor to go to the top of the hole.  Wait for it to seep in.  * Repeat between the *s as often as it takes til the liquor just doesn't seep in anymore.  It also helps to use a skewer to make a few holes thru the melon, but don't go overboard... a couple of well selected stabs and you will see the liquor seep in just a bit more.

4.  Between pours, let the watermelon stay in the fridge for at least 8 hours... 24 hours is best (and you can add more booze if you want). You can add the plug back when you no longer can put any liquor in.


5.  To serve, you can cut up the watermelon into slices, cubes, or use a melon baller, and enjoy.  You can also use this in mixed drinks and the likes.

:)  This is great for summer bbq's, but you might want to bring something else out for the kids. :)

Saturday, July 2, 2011

Giveaway: - July 2011 - Part 1 Tea Bag Wallet and $10

This giveaway has ended.  Thanks to all that has entered!

Alright, so I think I mentioned back in March that I'd have another giveaway during the month of July.  Well, surprisingly so, July has come in a flash!  I've been thinking about what I want to give you guys for awhile now... finally decided on doing two small giveaways this month.  The first will go from July 2nd, (today) until July 31st.  The second will go from July 15th until August 15th.  I'll also be implementing the new rules for Rad Linc Craft giveaways. So, the way it's going to work is, anyone that entered in on the last giveaway (last March), will be automatically entered into this giveaway. If you enter this giveaway again, you'll have two entries.  Then if you enter the second July giveaway, you'll have two entries on that one as well.  Okie dokie? Email me if you have questions: (ftcanon AT gmail DOT com)

Alright, so the prize for today's giveaway...

A tea bag wallet.  :-)  You'll get the one pictured below.  See the tutorial here.  This wallet is slightly different, in that I use an elastic band that stretches around the entire wallet instead of a ribbon and button.  I find it easier to use this way.


[Updated prize:]
And lastly... I'm including a $10 giftcard to Joann's.  :)

The giveaway ends July 31, 2011 at 11:59am and the winner will be notified soon after.

To enter, just make a comment on this page.  Please also leave some way for me to contact you (i.e. email address, twitter name).  If not, make sure you come back to the site to see if you've won.  Winners will have a month to claim the prize before a new winner is chosen.

Good Luck!!!

P.S. I haven't decided on what the next giveaway will be so stay tuned.